> For the complete documentation index, see [llms.txt](https://help.konnektive.com/llms.txt). Markdown versions of documentation pages are available by appending `.md` to page URLs; this page is available as [Markdown](https://help.konnektive.com/konnektive-crm/gateway-setup/gateways/worldnet.md).
# Worldnet
{% hint style="warning" %}
Worldnet will work with Order Entry, Form-code and Landers. 3D Secure will not work with Order Entry.
{% endhint %}
**STEP 1**
Go to **Gateways** | **Gateway Integrations** and select the Worldnet tile. Click **+Activate**.
**STEP 2**
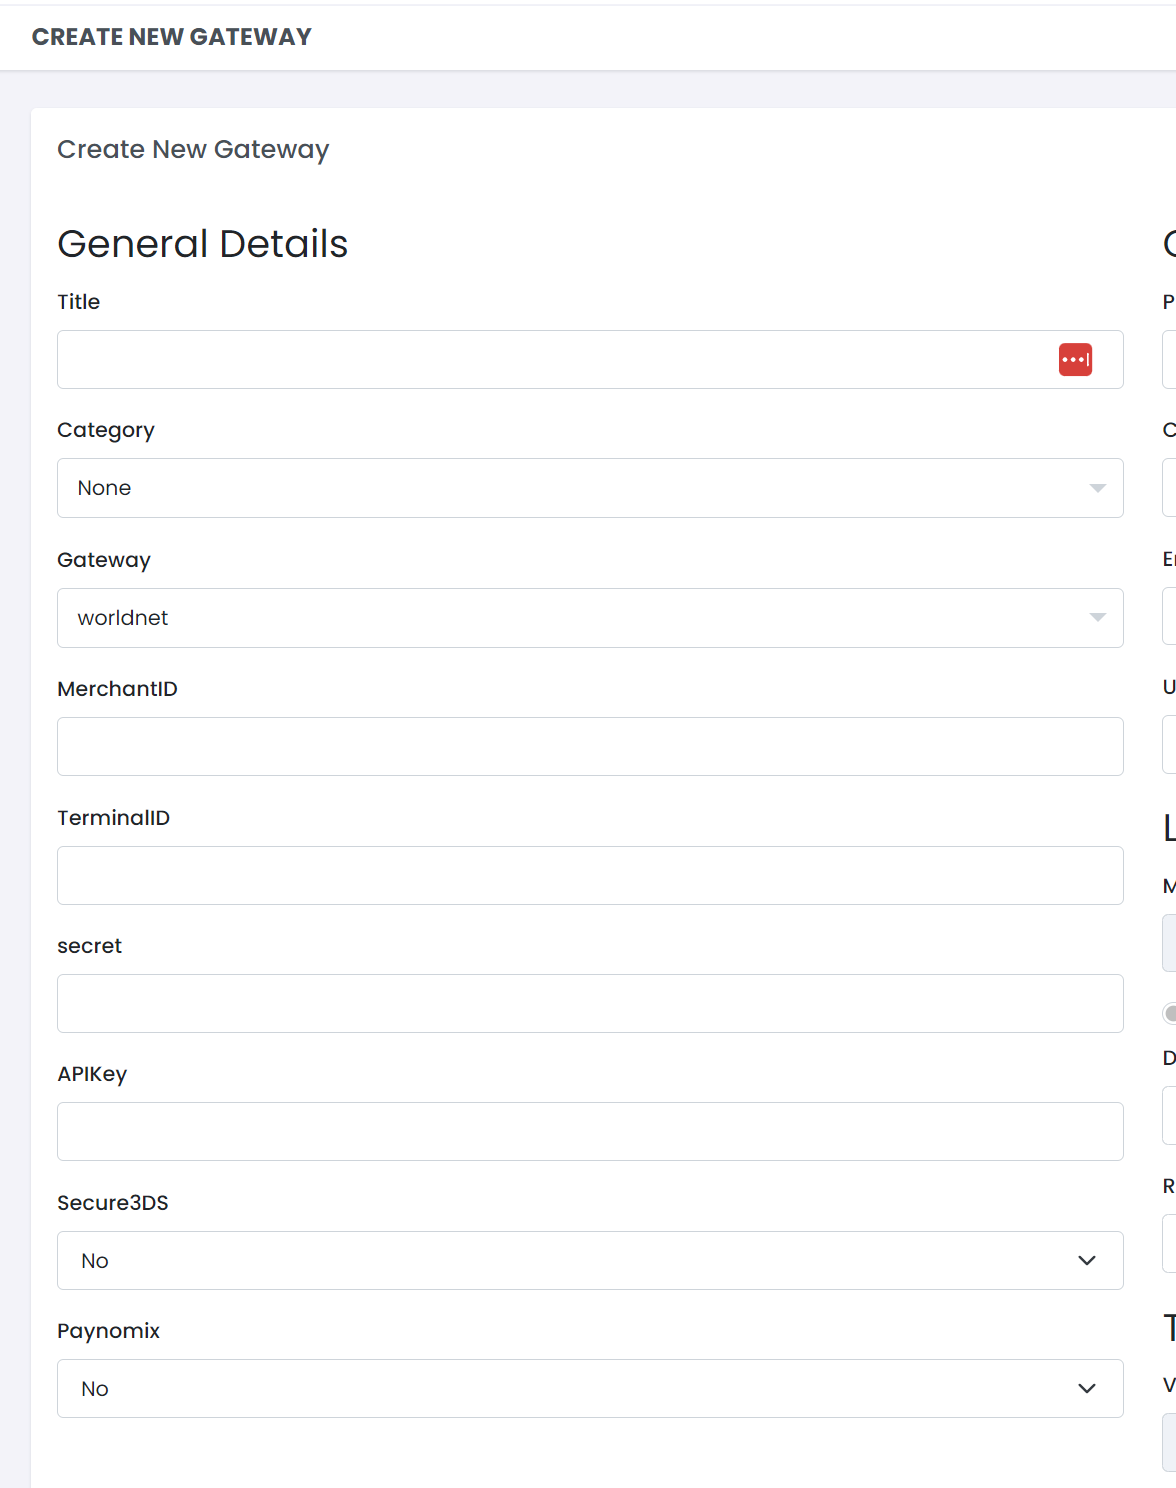
Enter the following information specific to Worldnet:
* **MerchantID** - Obtained from Worldnet
* **TerminalID**- Obtained from Worldnet
* **secret** - Obtained from Worldnet
* **APIKey** - Obtained from Worldnet
* **Secure3DS** - select YES to process using Worldnet’s native 3D Secure processing. If enabled be sure your pages support a [standard 3DS workflow](/konnektive-crm/gateway-setup/basic-3ds-instructions.md).
* **Paynomix** - If using a Paynomix processor, select “YES”, otherwise select “NO”.
Enter **Mid #** and **Descriptor**. These are required for all gateways.
Click the green **Create Gateway** button to save your changes and create the gateway
**STEP 3**
Assign the gateway to campaign products
**STEP 4**
If using **Secure3DS** then go to your Worldnet account and enter **** as the MPI Receipt URL